.png&w=1920&q=75)
プレイヤーをキーボードで動かすチュートリアルです。
まずは React アプリを作成し、必要なライブラリをインストールします。
# プロジェクト作成(JavaScript版)
yarn create vite . --template react
cd my-3d-game

# 必要パッケージを追加
yarn add three @react-three/fiber @react-three/drei @react-three/rapier three-stdlib
index.cssを修正します
#root {
  width: 100vw;
  height: 100vh;
}

body {
  margin: 0;
  width: 100%;
  height: 100%;
  overflow: hidden;
}
React コンポーネント App を編集して、Canvas とカメラ、ライト、空(Sky)を配置します。
import { Canvas } from "@react-three/fiber"
import { Sky } from "@react-three/drei"

function App() {
  return (
    <Canvas shadows camera={{ position: [0, 5, 5] }}>
      {/* 空を追加 */}
      <Sky
        distance={10000}
        sunPosition={[0, 10, 5]}
        inclination={0}
        azimuth={0.25}
        rayleigh={0.1}
      />

      {/* 環境光と影付き方向光 */}
      <ambientLight intensity={1.5} />
      <directionalLight
        castShadow
        position={[0, 5, 0]}
        intensity={2}
        shadow-mapSize-width={2048}
        shadow-mapSize-height={2048}
      >
        {/* シャドウカメラを調整 */}
        <orthographicCamera
          attach="shadow-camera"
          left={-25} right={25}
          top={25} bottom={-25}
          near={0.1} far={100}
        />
      </directionalLight>
    </Canvas>
  )
}

export default App
<Canvas> の shadows でシャドウを有効化<Sky> で大空/太陽光を簡単に設定<ambientLight> と <directionalLight> でシーン全体を照らします
Rapier を使って地面とステージ外周の壁(Boundary)を作ります。
import { RigidBody, CuboidCollider } from "@react-three/rapier"

const wallConfigs = [
  { pos: [0, 2.5, 25.5], size: [50, 5, 1] }, // 北
  { pos: [0, 2.5, -25.5], size: [50, 5, 1] }, // 南
  { pos: [25.5, 2.5, 0], size: [1, 5, 50] }, // 東
  { pos: [-25.5, 2.5, 0], size: [1, 5, 50] }, // 西
]

export function BoundaryWalls() {
  return (
    <>
      {wallConfigs.map(({ pos, size }, i) => (
        <RigidBody key={i} type="fixed" colliders="cuboid">
          <mesh position={pos} receiveShadow>
            <boxGeometry args={size} />
            <meshStandardMaterial visible={false} />
          </mesh>
        </RigidBody>
      ))}
    </>
  )
}

export function Ground() {
  return (
    <RigidBody type="fixed" colliders={false} name="ground">
      <mesh rotation-x={-Math.PI / 2} receiveShadow>
        <planeGeometry args={[50, 50]} />
        <meshStandardMaterial color="gray" />
      </mesh>
      <CuboidCollider args={[25, 0.1, 25]} position={[0, -0.1, 0]} />
    </RigidBody>
  )
}
visible={false})これらを <Physics> の中に含めることで、物理演算が働くステージが完成します。
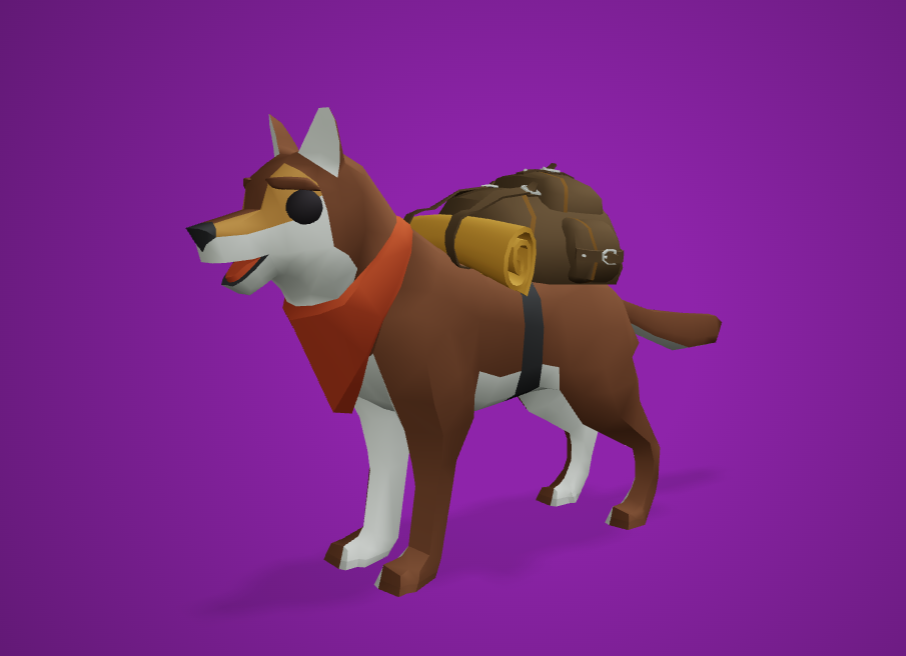
GLTF 形式のキャラクター(Shepard.glb)を読み込み、idle/run アニメーションを制御します。
キャラクターのモデルはpoly.pizzaからダウンロードしています。
こちらをダウンロードして、public/models/Shepard.glbに保存してください。
https://poly.pizza/m/Hssa6NPc6W
import { useGLTF, useAnimations } from "@react-three/drei"
import { SkeletonUtils } from "three-stdlib"
import { useEffect, useMemo, useRef } from "react"

export function Shepard({ animation }) {
  const group = useRef()
  const { scene, animations } = useGLTF("/models/Shepard.glb")
  const clone = useMemo(() => SkeletonUtils.clone(scene), [scene])
  const { actions, mixer } = useAnimations(animations, group)

  useEffect(() => {
    const action = actions[animation]
    action?.reset().fadeIn(0.24).play()
    mixer.timeScale = 1.4
    return () => action?.fadeOut(0.24)
  }, [animation, actions, mixer])

  useEffect(() => {
    clone.traverse((child) => {
      if (child.isMesh) child.castShadow = true
    })
  }, [clone])

  return <primitive ref={group} object={clone} />
}
useGLTF.preload("/models/Shepard.glb")
KeyboardControls を使ってキー入力を取得し、Rapier の RigidBody に速度を適用します。さらにカメラも追従させます。
import { useKeyboardControls } from "@react-three/drei"
import { RigidBody, CapsuleCollider } from "@react-three/rapier"
import { useFrame } from "@react-three/fiber"
import { useRef, useState } from "react"
import * as THREE from "three"
import { Shepard } from "./Shepard"
import { Controls } from "./App"

const MOVEMENT_SPEED = 7

const lerpAngle = (start, end, t) => {
  let s = THREE.MathUtils.euclideanModulo(start, Math.PI * 2)
  let e = THREE.MathUtils.euclideanModulo(end, Math.PI * 2)
  if (Math.abs(e - s) > Math.PI) {
    if (e > s) s += 2 * Math.PI
    else e += 2 * Math.PI
  }
  return THREE.MathUtils.euclideanModulo(s + (e - s) * t, Math.PI * 2)
}

const PlayerController = () => {
  const bodyRef = useRef()
  const charRef = useRef()
  const cameraTarget = useRef()
  const cameraPosRef = useRef()

  const [animation, setAnimation] = useState("Idle")
  const [, getControls] = useKeyboardControls()
  const movementVector = useRef(new THREE.Vector3()).current
  const worldCamPos = useRef(new THREE.Vector3())
  const worldCamLook = useRef(new THREE.Vector3())
  const camLookAt = useRef(new THREE.Vector3())

  useFrame(({ camera }) => {
    if (!bodyRef.current) return

    // 入力取得と移動ベクトル設定 (前後キーを修正)
    const keys = getControls()
    movementVector.set(
      (keys[Controls.left] ? 1 : 0) + (keys[Controls.right] ? -1 : 0),
      0,
      (keys[Controls.forward] ? 1 : 0) + (keys[Controls.back] ? -1 : 0)
    )

    // 移動速度と向き
    if (movementVector.lengthSq() > 0) {
      movementVector.normalize().multiplyScalar(MOVEMENT_SPEED)
      const angle = Math.atan2(movementVector.x, movementVector.z)
      charRef.current.rotation.y = lerpAngle(
        charRef.current.rotation.y,
        angle,
        0.2
      )
      setAnimation("Run")
    } else {
      setAnimation("Idle")
    }

    // 速度を物理エンジンに反映
    const vel = bodyRef.current.linvel()
    bodyRef.current.setLinvel(
      { x: movementVector.x, y: vel.y, z: movementVector.z },
      true
    )

    // カメラ追従処理
    cameraPosRef.current.getWorldPosition(worldCamPos.current)
    camera.position.lerp(worldCamPos.current, 0.1)
    cameraTarget.current.getWorldPosition(worldCamLook.current)
    camLookAt.current.lerp(worldCamLook.current, 0.1)
    camera.lookAt(camLookAt.current)
  })

  return (
    <RigidBody
      colliders={false}
      lockRotations
      ref={bodyRef}
      position={[0, 0.1, 0]}
      name="Player"
    >
      <group ref={cameraTarget} />
      <group ref={cameraPosRef} position={[0, 1.5, -3.5]} />
      <group ref={charRef}>
        <Shepard animation={animation} />
      </group>
      <CapsuleCollider args={[0.2, 0.2]} position={[0, 0.4, 0]} />
    </RigidBody>
  )
}

export default PlayerController
上記コンポーネントをすべて揃えたら、App.js を以下のように構成します。
import { Canvas } from "@react-three/fiber"
import { Preload, KeyboardControls, Sky } from "@react-three/drei"
import { Physics } from "@react-three/rapier"
import { useMemo } from "react"
import { Ground, BoundaryWalls } from "./Stage"
import PlayerController from "./PlayerController"

export const Controls = {
  forward: "forward",
  back: "back",
  left: "left",
  right: "right",
}

const App = () => {
  const keyMap = useMemo(
    () => [
      { name: Controls.forward, keys: ["ArrowUp", "KeyW"] },
      { name: Controls.back, keys: ["ArrowDown", "KeyS"] },
      { name: Controls.left, keys: ["ArrowLeft", "KeyA"] },
      { name: Controls.right, keys: ["ArrowRight", "KeyD"] },
    ],
    []
  )

  return (
    <KeyboardControls map={keyMap}>
      <Canvas camera={{ position: [0, 1.5, -3.5] }} shadows>
        <Sky
          distance={10000}
          sunPosition={[0, 10, 5]}
          inclination={0}
          azimuth={0.25}
          rayleigh={0.1}
        />
        <ambientLight intensity={1.5} />
        <directionalLight
          castShadow
          position={[0, 5, 0]}
          intensity={2}
          shadow-mapSize-width={2048}
          shadow-mapSize-height={2048}
        >
          <orthographicCamera
            attach="shadow-camera"
            left={-25}
            right={25}
            top={25}
            bottom={-25}
            near={0.1}
            far={100}
          />
        </directionalLight>
        <Preload all />
        <Physics>
          <Ground />
          <PlayerController />
          <BoundaryWalls />
        </Physics>
      </Canvas>
    </KeyboardControls>
  )
}

export default App
これで、
という「プレイヤーを動かす」チュートリアルの完成です!
各ステップのコードを順に組み合わせながら動作を確かめてみてください。